Setting up a monorepo with Vite, Typescript, and pnpm workspaces
Learn how to set up a monorepo with Vite, Typescript and pnpm workspaces.


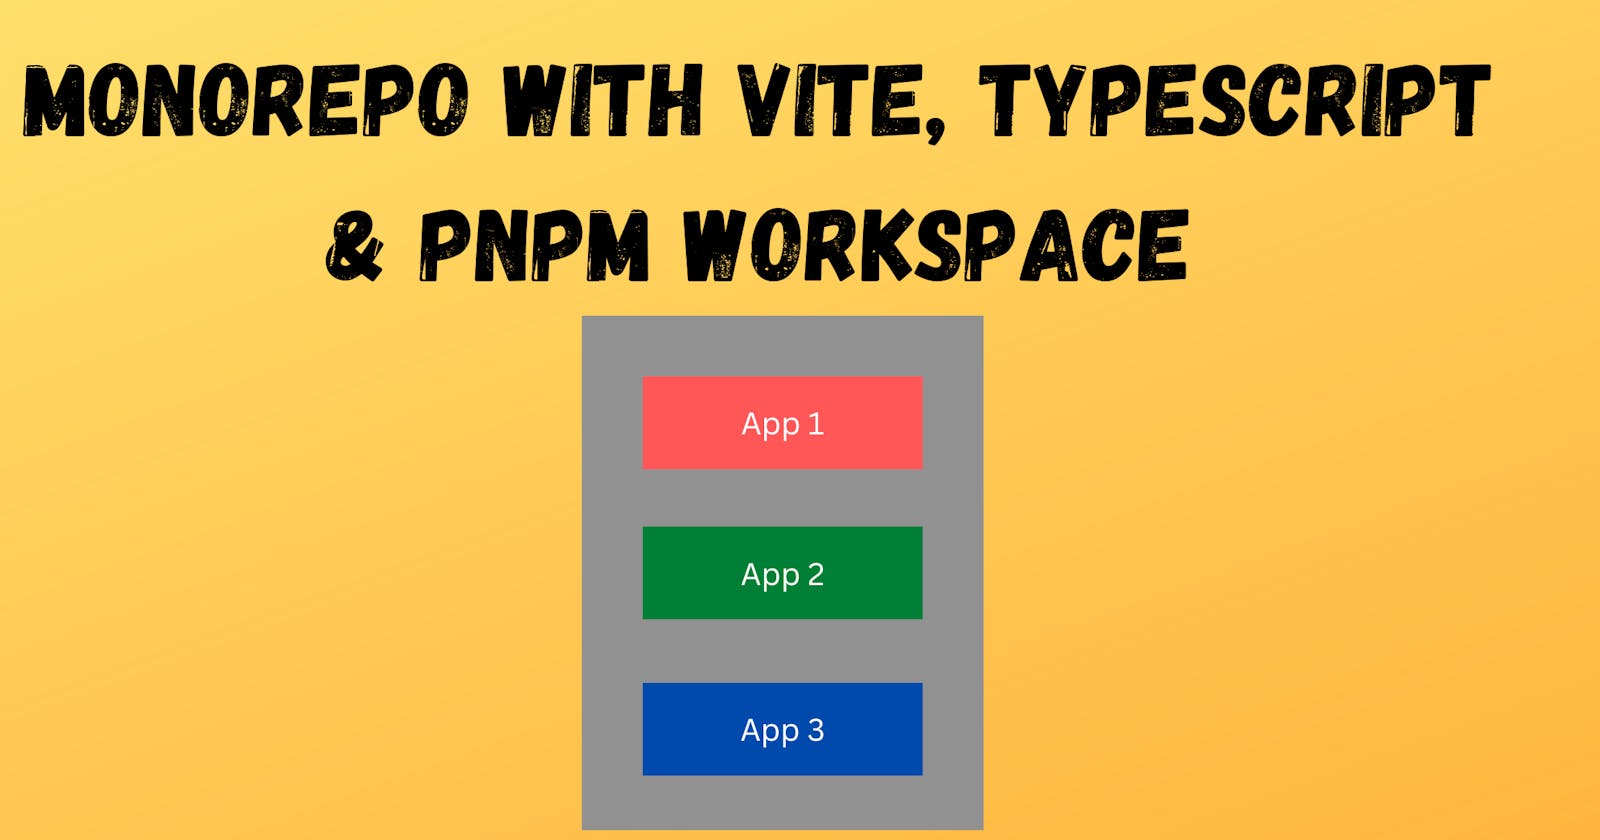
Monorepos are hot these days and it can significantly improve the development workflow and productivity among teams. In this article, we will talk about how to set up a monorepo with Vite, Typescript, and pnpm workspaces.
What is a monorepo?
Before we jump into the setup, we first need to understand what is a monorepo and why should we care about it.
Monorepo is a repository that contains many distinct projects which are somewhat dependent on each other but they are logically independent and different teams can work on them in isolation.
Let's consider an example where we are building an application and we have two projects inside of it:
Shared: This will have all our shared components that can be used by different projects.
Main: This is going to be our main project which will be the consumer of our
Sharedpackage.
One way to work with this type of project is a multi-repo approach where we create two separate repositories and host them at the npm registry. Then the consumer app can install it from the npm registry and use it how we import and use React, Tailwind, Material-UI and other packages.
The problem with this type of workflow is every time we will make any new changes to the shared package, we will have to publish the app again to the npm registry for the consumer app to get the latest changes and use them.
Monorepos can significantly improve this workflow by packaging both of these projects into a single repository and importing components directly from the workspace instead of importing them from the cloud.
Setup with pnpm workspaces
Now that we have an idea about what monorepos are and what problems they solve, let's dive right into the setup and see how we can set up a basic monorepo with pnpm workspaces.
To follow along you must have
pnpmandnodeinstalled in your machine.
Scaffold a new project
The first thing that we need to do for our setup is, create a new project which we will call "pnpm-monorepo" you can of course name it whatever you want to.
mkdir pnpm-monorepo
Then let's go inside the root of our project and initialize a package.json file.
# pnpm monorepo
pnpm init
At this point, you should have a basic package.json at the root of your project with somewhat similar code as follows:
// pnpm-monorepo/package.json
{
  "name": "pnpm-monorepo",
  "version": "1.0.0",
  "description": "",
  "main": "index.js",
  "scripts": {
    "test": "echo \"Error: no test specified\" && exit 1"
  },
  "keywords": [],
  "author": "",
  "license": "ISC"
}
Now, let's install some of our root-level dependencies that we are going to use across the project.
# pnpm-monorepo
pnpm add -D typescript typescript-node
Once the common dependencies are installed let's create our base Typescript configuration with the following code:
// pnpm-monorepo/tsconfig.base.json
{
  "compilerOptions": {
    "strict": true,
    "strictNullChecks": true,
    "esModuleInterop": true,
    "emitDecoratorMetadata": true,
    "experimentalDecorators": true,
    "noUnusedLocals": true,
    "skipLibCheck": true,
    "sourceMap": true,
    "jsx": "react-jsx",
    "moduleResolution": "node"
  }
}
This is the default Typescript configuration that I have written for my project you can customize it based on your project's requirements.
Next, we will create our tsconfig.json file which will extend our tsconfig.base.json
// pnpm-monorepo/tsconfig.json
{
  "extends": "./tsconfig.base.json"
}
That's all we need for our Typescript configuration.
Now let's create a pnpm-workspace.yaml file at the root of our project that will tell pnpm what packages we will have inside our monorepo.
pnpm-workspacemakes it surprisingly easier to add and manage multiple packages in a project.
# pnpm-monrepo/pnpm-workspace.yaml
packages:
  - "./packages/**"
We can add as many packages as we want to pnpm-workspace.yaml by adding the relative path of the packages in this file, for our project we are adding our packages directory and all of its child directories to the workspace.
Now we will create both of our main and shared packages that we discussed above inside the packages directory. Our main project will be a Vite application and the shared project will have some shared code that we will use inside our main app.
Create a Vite application
Let's first create the packages directory at the root level.
# pnpm-monorepo
mkdir packages
Now we will create our main app inside of the packages directory which will be a Vite application. To do that navigate inside pnpm-monorepo/packages and run:
# pnpm-monorepo/packages
pnpm create vite
I am using React & Typescript but the following steps should work irrespective of which framework/library you select.
Now let's create our second package in the packages directory, we will call it shared.
# pnpm-monorepo/packages
mkdir shared
At this point, your project's structure should look somewhat similar to this:
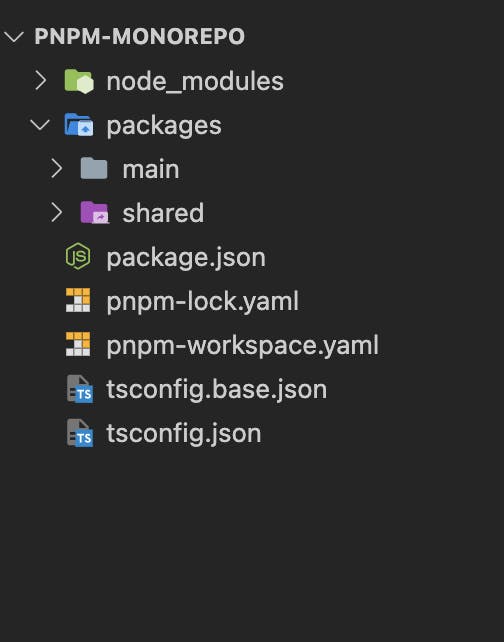
We have our packages directory and inside it, we have our main and shared packages.
Let's now go inside our main package and change the following in package.json
// pnpm-monorepo/packages/main/package.json
{
"name": "@pnpm-monorepo/main"
...
}
For pnpm to properly identify that this package is part of our workspace, we need to change the name property of the package to @root-name/package-name . In this case, our root name is pnpm-monorepo .
Now let's go inside our shared package and do the same but first, we need to create a package.json file inside of it.
# pnpm-monorepo/packages/shared
pnpm init
This will create a package.json file inside our shared package, now let's change the following:
// pnpm-monorepo/packages/second/package.json
{
    "name": "@pnpm-monorepo/shared"
}
That's it for the configuration part, now we should be able to import packages from the workspace similar to how we do for other npm packages.
Let's create a index.ts file inside our shared package with the following code:
// pnpm-monorepo/packages/shared/index.ts
export const sayHi = (userName: string) => console.log(`Hi ${userName}`)
We have a basic sayHi function which takes a userName as parameter and console log a message saying "Hi" to them.
Now let's go inside our main package and import our shared package by running this command:
# pnpm-monorepo/packages/main
pnpm add @pnpm-monorepo/shared
According to pnpm docs, if we do pnpm add within a workspace, it first tries to find that package within the workspace, and only if it is unable to find the package within the workspace it goes to the npm registry to install it.
As we already have @pnpm-monorepo/shared within our workspace, it will install it from the workspace itself.
At this point your package.json inside you main app should look something like this:
// pnpm-monorepo/packages/main/package.json
{
...
"dependencies": {
    "@pnpm-monorepo/shared": "workspace:^1.0.0",
    "react": "^18.2.0",
    "react-dom": "^18.2.0"
  },
...
}
That's it, now we should be able to import variables/functions from our shared package.
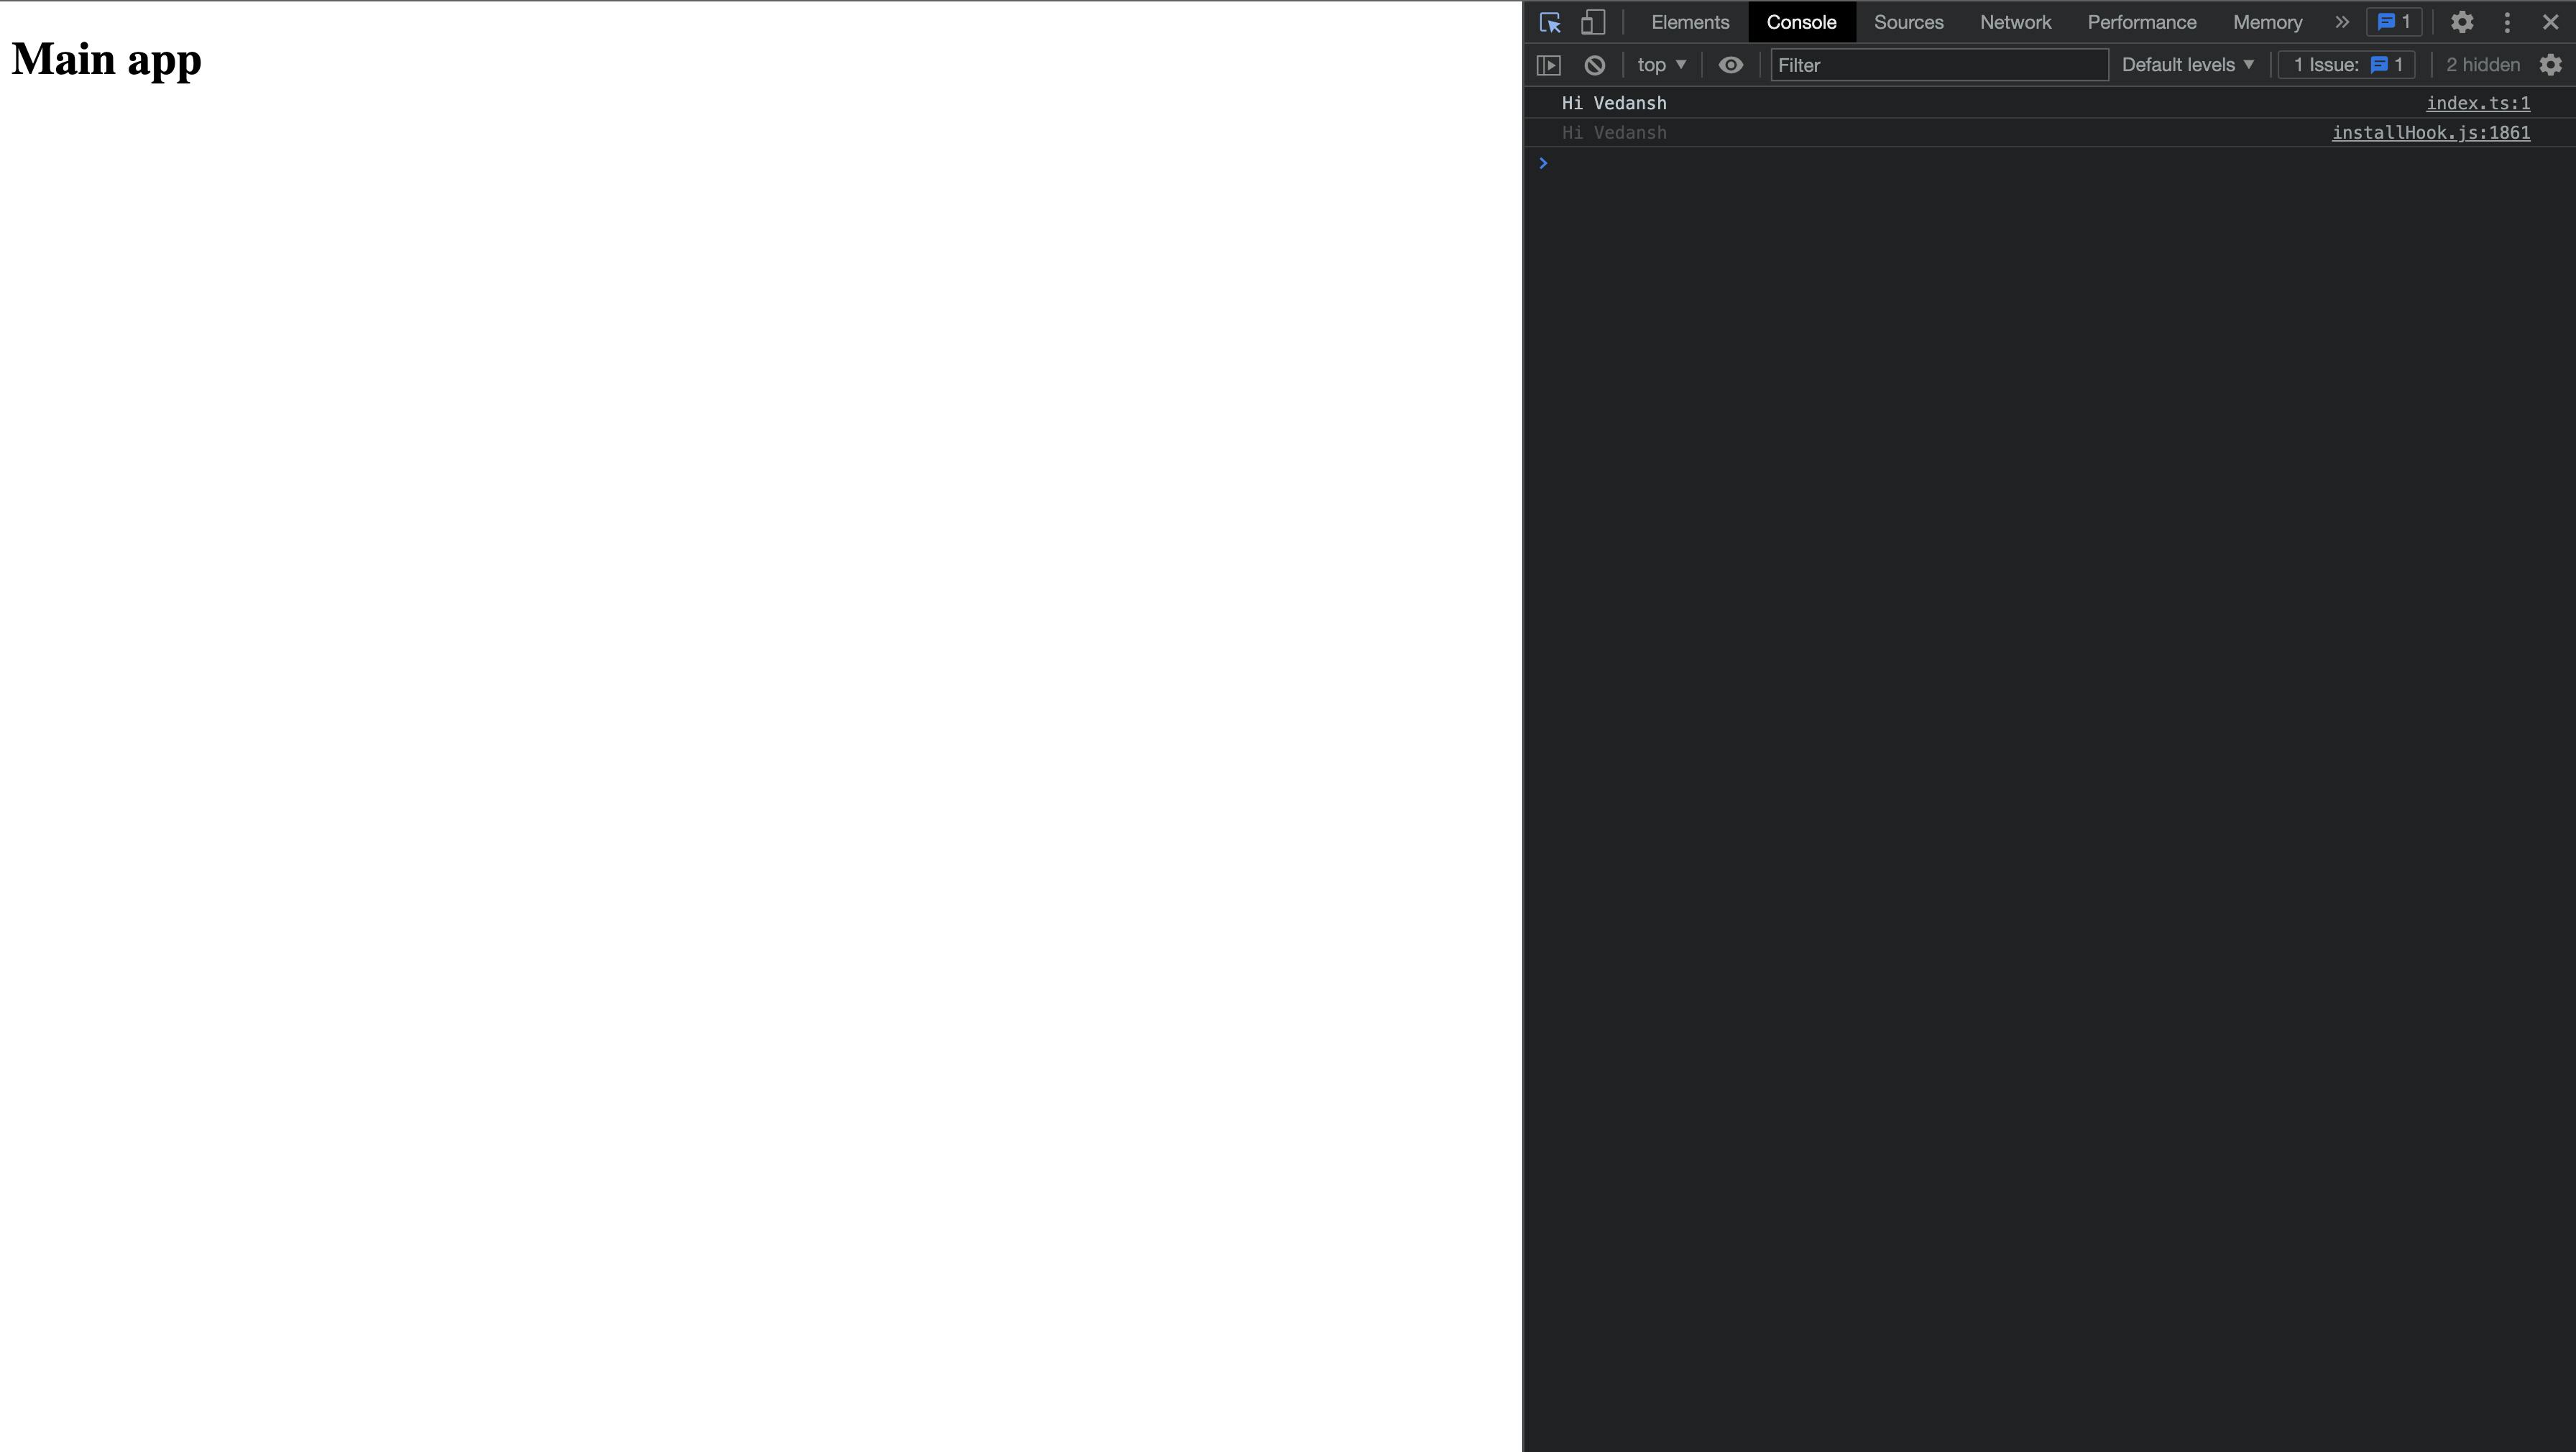
Let's go inside our main/App.tsx and add the following code:
// pnpm-monorepo/packages/main/App.tsx
import { sayHi } from "@pnpm-monorepo/shared";

const App = () => {
  sayHi("Vedansh");
  return <h1>Main app</h1>;
};
export default App;
Run pnpm install and pnpm dev inside main app, a new dev server should spin up and you should see the following output at your http://localhost:5173:
So that's it, this was our very basic monorepo setup with pnpm-workspaces, Vite, and Typescript. Monorepos is a great solution for large-scale applications where you don't want to manage multiple repositories for multiple packages and instead you want to package all of them together into one repository.
If you want the complete code of this project you can find it here.
Thank you for reading, if you are still here consider following me for more blogs. You can also connect with me on Twitter and LinkedIn where I keep sharing regular content related to web development and Javascript.